La réalité virtuelle (VR) est devenue une nouvelle frontière passionnante pour la création de contenu, offrant des expériences immersives parfaites pour le streaming, les tutoriels et les vidéos créatives. Si vous êtes un créateur de contenu VR qui cherche à partager votre gameplay, vos tutoriels ou vos expériences, l'enregistrement d'écran en VR est une compétence indispensable. Que vous utilisiez OBS (Open Broadcaster Software) ou les outils intégrés de Nvidia, ce guide vous présentera les meilleures méthodes pour capturer des séquences VR de haute qualité.
Pourquoi l'enregistrement d'écran en réalité virtuelle est important
L'enregistrement de gameplay en réalité virtuelle est essentiel pour les créateurs de contenu qui souhaitent partager leurs expériences immersives avec leur public. Que vous présentiez des jeux en réalité virtuelle, créiez du contenu éducatif ou proposiez même des visites virtuelles, des enregistrements d'écran de haute qualité contribueront à engager les spectateurs. Des outils et des techniques d'enregistrement appropriés garantissent que vos images sont fluides, claires et professionnelles, ce qui est essentiel pour se démarquer dans le monde encombré du contenu VR.
Comment enregistrer un écran en réalité virtuelle avec OBS
OBS est l'un des outils d'enregistrement et de diffusion d'écran gratuits et open source les plus populaires utilisés par les créateurs de contenu du monde entier. Il est polyvalent et prend en charge l'enregistrement VR lorsqu'il est correctement configuré.

Étape 1 : Installer OBS
Si vous n'avez pas installé OBS, téléchargez et installez le logiciel à partir du site Web officiel d'OBS .
Étape 2 : Configurez votre casque de réalité virtuelle
Avant de commencer l'enregistrement, assurez-vous que votre casque de réalité virtuelle est correctement installé et configuré. Pour la plupart des systèmes de réalité virtuelle (tels que Oculus, HTC Vive ou Valve Index), cela implique de s'assurer que le matériel est connecté et calibré.
Étape 3 : Configurer OBS pour l'enregistrement VR
- Lancer OBS : Ouvrez OBS sur votre ordinateur.
-
Créer une nouvelle scène : Dans le panneau « Scènes » en bas à gauche, cliquez sur le bouton « + » pour créer une nouvelle scène pour votre enregistrement VR.
- Ajouter une capture d'écran : cliquez sur le bouton « + » dans le panneau « Sources » et sélectionnez « Capture d'écran » ou « Capture de jeu ». Cela capturera tout ce qui se passe sur l'écran de votre ordinateur, y compris le contenu VR.
- Choisissez l'affichage : si vous utilisez une configuration à deux écrans, assurez-vous de sélectionner le bon écran qui affiche votre vue VR.
- Ajuster la zone de capture : redimensionnez et ajustez la zone de capture pour vous assurer que vous enregistrez uniquement l'affichage ou la fenêtre VR, en laissant de côté les autres éléments inutiles.
- Configurer les paramètres : Dans le menu « Paramètres », choisissez la qualité d'enregistrement souhaitée (par exemple, la résolution, la fréquence d'images). Pour une réalité virtuelle de haute qualité, définissez votre résolution de sortie sur 3840x2160 et une fréquence d'images de 60 ips pour des images fluides.
- Démarrer l'enregistrement : lorsque vous êtes prêt, appuyez sur « Démarrer l'enregistrement » dans OBS. Vous pouvez également utiliser des raccourcis clavier pour démarrer et arrêter l'enregistrement si vous préférez contrôler le processus depuis la réalité virtuelle.
Méthode alternative utilisant OpenVR Capture
-
Lancez OBS : Ouvrez OBS Studio sur votre ordinateur.
-
Créer une nouvelle scène : Dans le panneau « Scènes » (en bas à gauche), cliquez sur le bouton « + » pour ajouter une nouvelle scène pour l'enregistrement VR.
-
Ajouter OpenVR Capture : Dans le panneau « Sources », cliquez sur le bouton « + » et sélectionnez « OpenVR » . Cela capturera le contenu VR directement depuis la vue de votre casque.
-
Vérifiez la sélection du moniteur : si vous utilisez plusieurs moniteurs, assurez-vous que le moniteur approprié affichant votre contenu VR est sélectionné.
-
Ajuster la zone de capture : redimensionnez ou recadrez la fenêtre de capture selon vos besoins pour vous concentrer uniquement sur la vue VR, en excluant tout élément inutile à l'écran.
-
Configurer les paramètres d’enregistrement :
- Accédez au menu Paramètres dans OBS.
- Sous Vidéo , définissez la résolution (par exemple, 1920 x 1080) et la fréquence d'images (par exemple, 60 ips) pour un enregistrement de haute qualité.
- Ajustez les paramètres de sortie sous l'onglet Sortie si nécessaire (par exemple, le format de fichier et l'encodeur).
-
Testez la configuration : effectuez un court enregistrement de test pour vous assurer que tout fonctionne comme prévu.
-
Démarrer l'enregistrement : lorsque vous êtes prêt, cliquez sur « Démarrer l'enregistrement » dans OBS. Pour plus de commodité, vous pouvez configurer des raccourcis clavier dans le menu Paramètres > Raccourcis clavier pour contrôler l'enregistrement sans quitter VR.
Étape 4 : Modifications post-enregistrement
Comment enregistrer un écran en réalité virtuelle à l'aide de Nvidia GeForce Experience
Si vous utilisez une carte graphique Nvidia, le logiciel GeForce Experience de Nvidia offre un moyen simple d'enregistrer le gameplay VR avec une configuration minimale.
Étape 1 : Installer GeForce Experience
Tout d'abord, assurez-vous que Nvidia GeForce Experience est installé. Si ce n'est pas le cas, vous pouvez le télécharger depuis le site Web de Nvidia .

Étape 2 : Activer la « superposition dans le jeu »
-
Ouvrez GeForce Experience : lancez le logiciel et connectez-vous à votre compte Nvidia.
-
Activer la superposition : accédez aux paramètres (icône d'engrenage dans le coin supérieur droit) et activez la « superposition dans le jeu ». Cette fonctionnalité vous permet de capturer le gameplay VR sans quitter le jeu ou l'environnement VR.
Étape 3 : Configurer l’enregistrement VR
-
Démarrez votre application VR : lancez votre jeu ou application VR.
-
Ouvrir l'overlay : appuyez sur « Alt + Z » sur votre clavier pour ouvrir l'overlay Nvidia. Si vous êtes en VR, vous devrez peut-être configurer un raccourci de contrôleur pour accéder à ce menu.
-
Qualité vidéo : accédez à la section « Partager », puis réglez le curseur « Qualité vidéo » sur un paramètre plus élevé, en visant généralement « Élevé » ou « Personnalisé » avec un débit binaire élevé pour obtenir la meilleure qualité visuelle pour vos enregistrements ; n'oubliez pas de surveiller les performances de votre système, car des paramètres plus élevés peuvent avoir un impact sur la fréquence d'images.
-
Démarrer l'enregistrement : dans le menu de superposition, cliquez sur le bouton « Enregistrer » pour commencer à capturer votre gameplay VR. Vous pouvez également utiliser le raccourci clavier « Alt + F9 » pour démarrer et arrêter l'enregistrement sans interrompre votre session.
Étape 4 : Révisez et modifiez votre enregistrement
Conseils pour un enregistrement d'écran VR de haute qualité
-
Ajuster les paramètres de réalité virtuelle : pour garantir des enregistrements fluides, assurez-vous que votre système de réalité virtuelle fonctionne à une fréquence de rafraîchissement élevée. Une fréquence d'images constante d'au moins 90 Hz produira une vidéo plus fluide.
-
Utilisez un PC puissant : l'enregistrement de réalité virtuelle nécessite beaucoup de ressources. Assurez-vous que votre ordinateur répond à la configuration système requise pour les logiciels de réalité virtuelle et d'enregistrement d'écran. Un GPU puissant, tel que la série Nvidia RTX, offrira de meilleures performances.
-
Optimiser la qualité vidéo : pour un contenu de haute qualité, envisagez d'enregistrer en résolution 1080p ou 1440p. Vous pouvez aller plus loin, mais faites attention à la taille des fichiers et à la puissance de traitement de votre PC.
-
Envisagez plusieurs caméras : certaines plateformes de réalité virtuelle (comme Oculus Quest 2) prennent en charge l'utilisation de caméras externes pour des angles de vue vidéo supplémentaires ou la capture faciale. Cela peut vous aider à personnaliser votre contenu de réalité virtuelle et à créer des vidéos plus attrayantes.
Conclusion
L'enregistrement d'écran en VR peut sembler intimidant au début, mais avec les bons outils et la bonne configuration, il est relativement simple de commencer. OBS est une excellente option pour ceux qui souhaitent un contrôle total sur leur enregistrement et leur streaming, tandis que GeForce Experience de Nvidia offre un moyen rapide et facile de capturer le gameplay VR sans configuration compliquée. Quelle que soit la méthode que vous choisissez, la clé d'un excellent contenu VR réside dans la préparation, des paramètres de qualité et des pratiques d'enregistrement fluides.
En maîtrisant les techniques d'enregistrement VR, vous serez en mesure de créer un contenu immersif et de haute qualité qui se démarquera auprès de votre public. Bon enregistrement et n'oubliez pas de partager vos créations avec le monde entier !
Conseils pour des jeux spécifiques
MSFS montre le miroir du bureau avec deux yeux. Ce n'est pas idéal, mais nous vous recommandons d'en enregistrer la moitié à l'aide d'OBS, puis d'étendre l'enregistrement en plein écran dans un éditeur vidéo. Vous perdez quelques détails, mais la qualité devrait toujours être suffisamment élevée.
Ou bien, vous pouvez choisir d'afficher toujours deux images côte à côte. Capture d'écran de Voodoo :

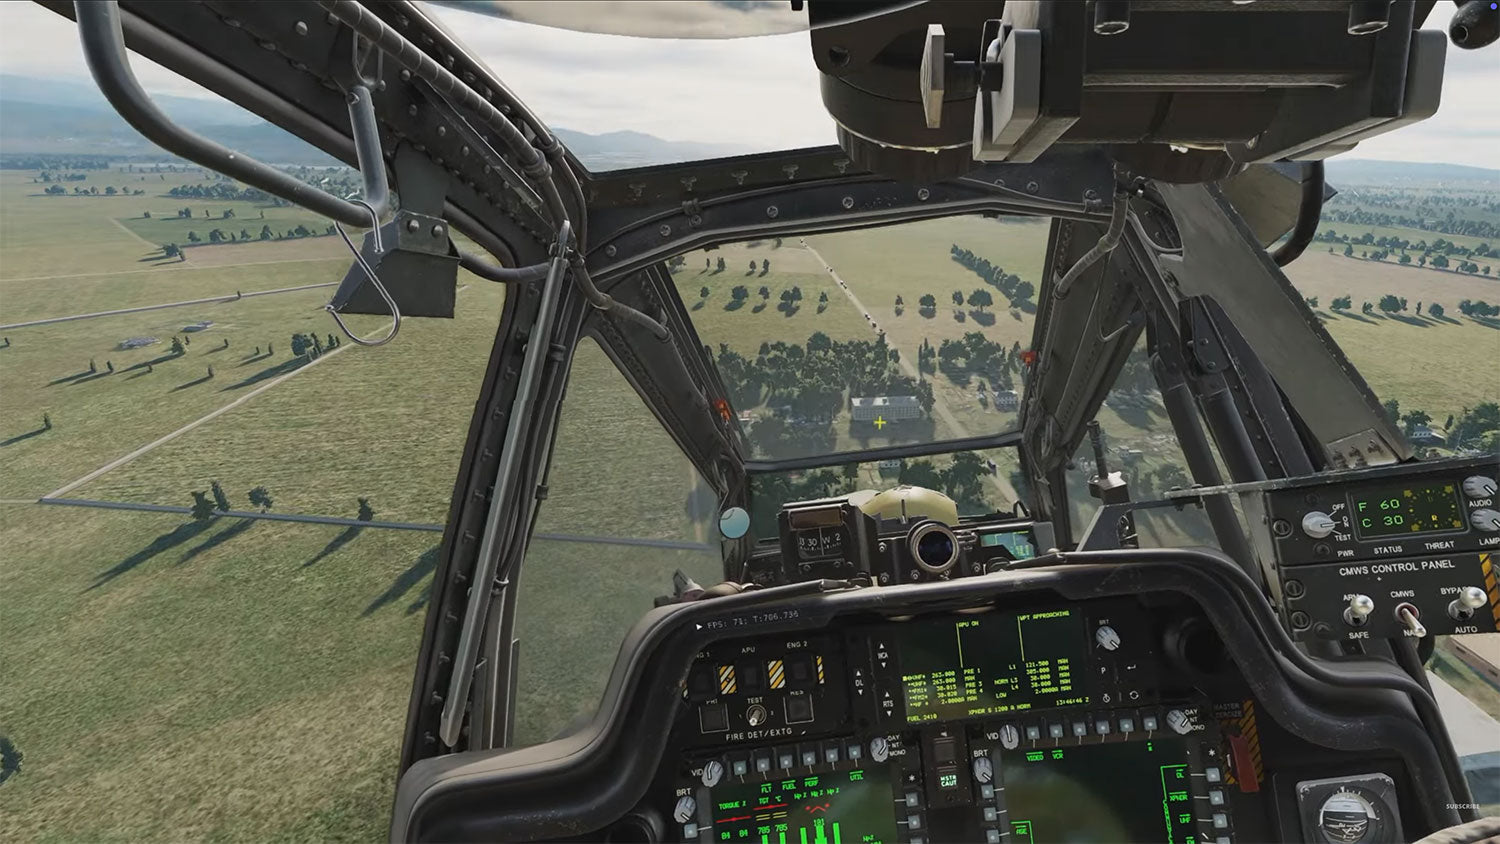
Dans DCS, vous pouvez activer le plein écran pour le miroir VR dans les options. Cela facilite l'enregistrement de l'écran VR :

La capture d'écran de Laubox se trouve en haut de cet article.
Enfin, un conseil : n'oubliez pas de regarder autour de vous ! Vous êtes en réalité virtuelle !


