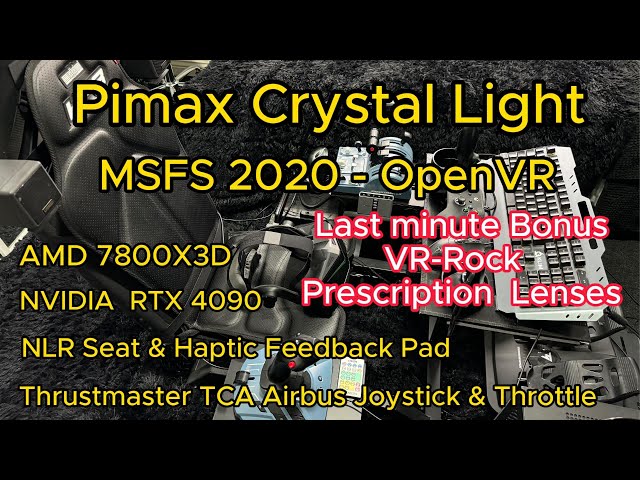
Microsoft Flight Simulator-Fans, die ihr Erlebnis mit dem Pimax Crystal Light-Headset verbessern möchten, werden den Einrichtungsprozess unkompliziert und lohnend finden. In dieser Anleitung werden die Schritte zur nahtlosen Integration des Pimax Crystal Light in Ihr Flugsimulations-Setup beschrieben.
Dieser Blog ist vom Video von Skyenet - T999 inspiriert, das einen detaillierten Einblick in das Auspacken und Einrichten des Pimax Crystal Light bietet. Unten sehen Sie sein Originalvideo.
Auspacken und Ersteinrichtung
Beim Auspacken des Pimax Crystal Light finden Benutzer die folgenden Komponenten:
-
Controller
-
USB-C-Kabel
-
Netzteile
-
Headset
-
Netzteil
Laden Sie zunächst die Controller mit den mitgelieferten USB-C-Kabeln auf. Folgen Sie anschließend der dem Headset beiliegenden Kurzanleitung, in der die erforderlichen Anschlüsse beschrieben werden. Schließen Sie das Headset an den Display-Port Ihrer Grafikkarte und einen USB-Port an und stellen Sie sicher, dass es eingeschaltet ist.
Softwareinstallation
Laden Sie die Pimax Play-Software von der offiziellen Pimax-Website herunter. Installieren Sie die Software nach dem Download und stellen Sie sicher, dass sie auf dem neuesten Stand ist. Die aktuelle Version muss möglicherweise nach der Installation aktualisiert werden. Folgen Sie daher den Anweisungen, um diesen Vorgang abzuschließen.
Konfigurieren des Headsets
Nachdem Sie die Pimax Play-Software installiert haben, folgen Sie den Anweisungen auf dem Bildschirm, um das Headset einzurichten:
-
Bestätigen Sie die Headset-Verbindungen und stellen Sie sicher, dass alle Treiber auf dem neuesten Stand sind.
-
Passen Sie die Sensoren und Controller des Headsets gemäß den bereitgestellten Anweisungen an.
-
Vervollständigen Sie die Raumeinrichtung, indem Sie die Einstellungen für Raumhöhe und Sitzposition konfigurieren.
Einrichten von OpenXR
Für das beste VR-Erlebnis mit Microsoft Flight Simulator wird die Verwendung von OpenXR empfohlen. Installieren und konfigurieren Sie die folgende Software:
-
Pimax XR Laufzeit
-
OpenXR-Toolkit
-
Composite-Laufzeit-Umschalter
Stellen Sie sicher, dass der Composite Runtime Switcher auf OpenXR eingestellt ist, da es im Vergleich zu SteamVR eine bessere Leistung für Microsoft Flight Simulator bietet.
Starten von Microsoft Flight Simulator
Sobald das Headset und OpenXR eingerichtet sind, starten Sie Microsoft Flight Simulator. Passen Sie die allgemeinen Optionen an, um die Einstellungen für Ihre Hardware zu optimieren, insbesondere für die Verwendung der RTX 4090-Grafikkarte. Für ein optimales visuelles Erlebnis wird empfohlen, die meisten Grafikoptionen auf „Ultra“ einzustellen.
Verbesserung des Sehkomforts
Für Benutzer, die Korrekturgläser benötigen, bietet VR-Rock individuelle Brillengläser an, die mit dem Pimax Crystal Light kompatibel sind. Diese Linsen können einfach installiert werden, indem die vorhandenen Schrauben durch die längeren Schrauben von VR-Rock ersetzt werden. Erwägen Sie außerdem, die Standardpolsterung des Headsets durch eine dickere Alternative zu ersetzen, um den Komfort zu gewährleisten, insbesondere wenn Ihr Augenabstand (IPD) 64 mm oder weniger beträgt.
Letzte Schritte und Anpassungen
Bevor Sie mit Ihrer Flugsimulationssitzung beginnen:
-
Bestätigen Sie, dass der VR-Modus aktiviert ist, indem Sie Strg + Tab drücken.
-
Passen Sie die Einstellungen des Headsets und des Controllers nach Bedarf an, um Komfort und optimale Leistung zu gewährleisten.
-
Laden Sie Microsoft Flight Simulator und überprüfen Sie, ob alle Einstellungen korrekt angewendet wurden.
Wenn Sie Fragen zur Einrichtung haben, können Sie gerne unserem Discord-Kanal beitreten . Wir halten regelmäßig Q&A-Sitzungen ab und Sie können Ihre Fragen in den entsprechenden Kanälen posten. Für technische Hilfe reichen Sie bitte hier ein Ticket ein: Support-Ticket .


